Designers know that an impactful image can communicate a message faster and more effectively than words. But creating images that are visually stunning often requires more than just snapping a photo or downloading stock visuals.
Enhancing your images with precision and creativity is essential to producing polished and professional designs that stand out in an increasingly competitive marketplace.
If you’re a designer looking to boost your craft, you’ve come to the right place. This guide will explore various design tips and six vital techniques that every designer should have in their skillset.
By mastering these, you’ll elevate your image enhancement game and energize your creative projects.
Crop and Composition: Mastering Balance
Great composition is the backbone of any captivating image. While cropping might seem basic, it’s a powerful way to improve focus and remove unnecessary distractions.
Choosing the Right Crop
When cropping, consider the rule of thirds—a design principle that adds visual interest by dividing your frame into nine equal sections. Place the subject at one of the intersections to create a balanced, aesthetically pleasing image.
Align Your Design Goals
Before cropping, think about the overall story or message of the image. Does your crop direct the viewer’s attention to the important elements of the photo or design?
Tools like Adobe Photoshop and Canva make cropping intuitive and give helpful guidelines for achieving a professional composition.
Lighting Adjustments for Maximum Impact
Lighting can transform an ordinary image into something remarkable. Even subtle tweaks to brightness, contrast, or shadows can make images look more professional.
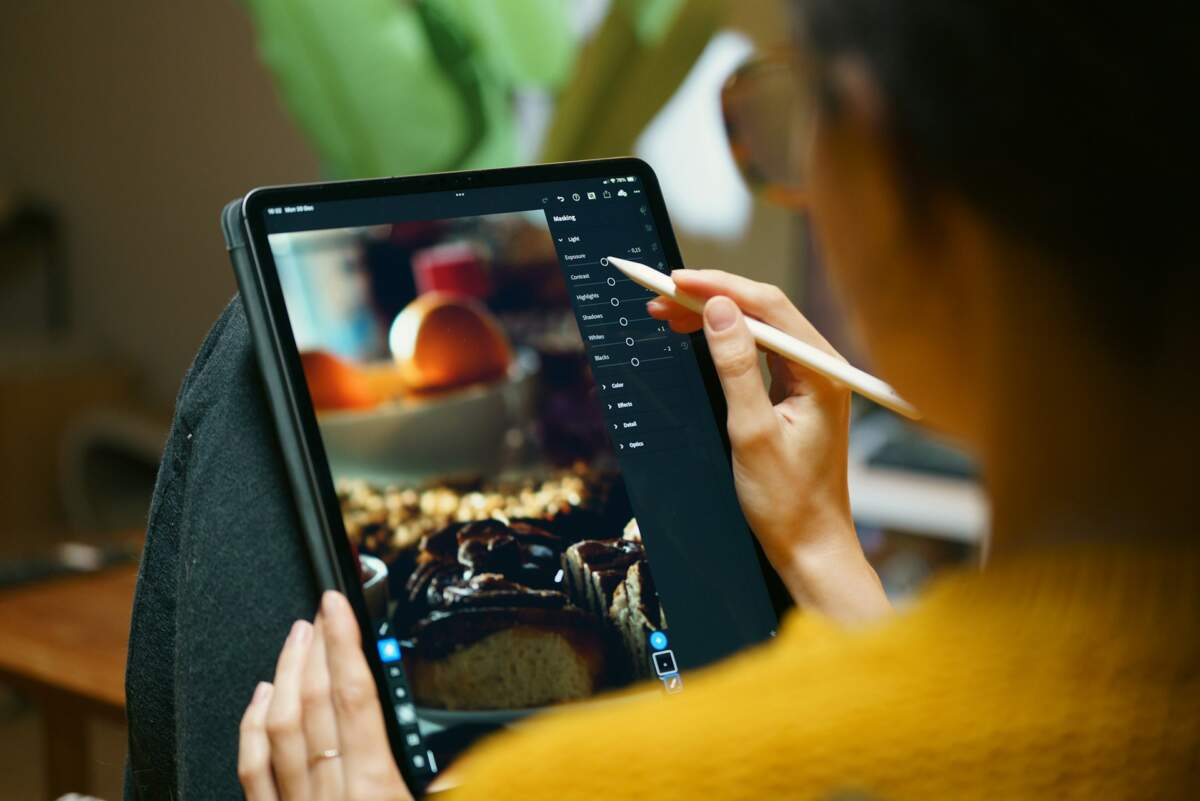
Adjusting Brightness and Contrast
Finding the right balance is key—boosting brightness can make photos appear fresher while adjusting contrast deepens highlights and shadows for added drama. Tools like Lightroom offer sliders to seamlessly adjust brightness and contrast.
Correct Color Temperature
Warmth and coolness in a photo—otherwise known as color temperature—can affect its tone. Use professional photo editing tools to fine-tune this aspect, so your image matches the mood and purpose of your design project.
Retouching Imperfections for a Flawless Finish
Even the best-shot photos need a little retouching. Removing blemishes or imperfections is essential for creating polished images that appear effortlessly perfect.
Eliminate Unwanted Details
Use tools like the Spot Healing Brush in Photoshop or the AI-powered cleanup tool in Luminar Neo to remove elements like stray hairs, sensor spots, or smudges in the frame.
Smoothing Without Overdoing It
Over-retouching can make an image appear artificial. Focus on smoothing skin or textures subtly to maintain authenticity while achieving a clean look.
Fine-Tune with Filters and Overlays
Filters and overlays aren’t just for Instagram—they’re serious design tools that can add an artistic edge to your images when applied thoughtfully.
Use Filters with Intention
Filters are useful for achieving uniformity across a project or for conveying specific moods. Think vintage effects for a nostalgic campaign or moody blacks and greys for dramatic, high-fashion visuals.
Add Overlays for Texture
Overlaying grain, gradients or light leaks can give depth or meaning to a flat design. However, always be mindful to use these enhancements sparingly to avoid overwhelming the original image.
Mastering Sharpness and Detail
Clarity and sharpness determine how well your design will resonate visually. Whether for an online ad or a printed brochure, sharpening techniques give your designs professional credibility.
Enhance Details to Capture Attention
Use tools like the Unsharp Mask in Photoshop to highlight edges without creating unwanted distortions. For group photos or landscape imagery, this can help viewers appreciate intricate details often missed.
Avoid Over-Sharpening
Over-sharpening can result in unnatural outlines. To minimize risks, use zoom-ins while reviewing your work for precise edits. Most graphic tools have preview features to guide you.
Employ Icons and Custom Graphics Strategically
Icons and custom-made graphics can complement enhanced imagery, giving context and organization to an otherwise static design.
Match Graphics to Your Tone
A well-designed set of icons or illustrations must align with your brand’s tone of voice, whether playful, professional, or minimalist.
Use Layers for Optimization
Layering customized graphics over enhanced photos ensures a composite look that feels cohesive. Tools like GIMP and Figma provide robust options for fine-tuning layer interactions.
Elevate Your Creative Game
Image enhancement doesn’t need to feel overwhelming. By mastering these techniques—cropping, lighting adjustments, filters, retouching, sharpness, and graphics—you’ll have the power to transform ordinary works into masterpieces.
Remember, enhancing images isn’t just about improving their technical quality; it’s about storytelling and evoking the right emotion.
Get started by exploring user-friendly graphic tools like Photoshop, Lightroom, or Canva to practice these methods, and watch how your creativity and confidence as a designer soars!